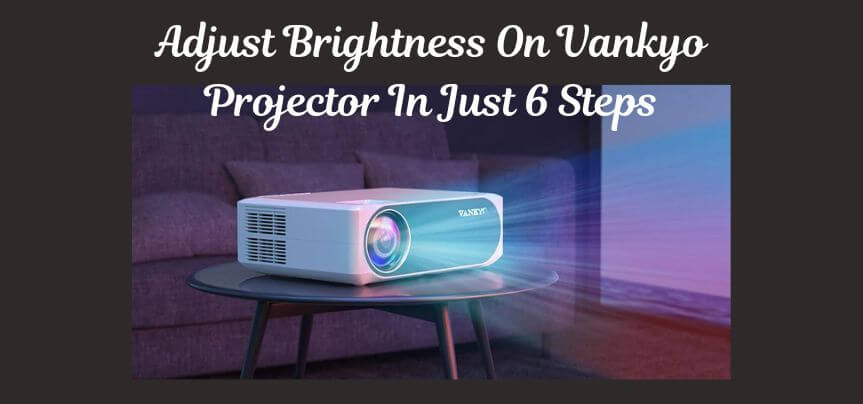
Do you have a Vankyo projector and you’re facing the problem of low brightness? Do you want to know how to adjust the brightness of Vankyo projector? It’s not a big deal, here’s a solution.
To adjust the brightness of the Vankyo projector, you have to follow some steps. Such as the replacement of a bulb, clearing any blocking source, and use in a dark place. These quick fixes can increase the brightness of the Vankyo projector.
You’re not alone in this. Here in this article, we will share an easy guide for you to adjust your Vankyo projector color settings.
Why Is My Projector Not As Bright?
Has your projector been giving you a hard time with its lack of light lately? You’re not alone. It’s a common problem that can have a few different causes.
In this article, we’ll explore some of the possible reasons why your projector isn’t as bright as it used to be and offer some solutions for getting it back to peak performance;
1. The Projector Bulb Needs a Replacement
One of the reasons why projector screen brightness is not the same is because of its bulb. Yes! your projector’s bulb might be reaching the end of its life. Or maybe the projector bulb is burnt due to overheating of the projector. Whatever the case is out of both it will need to be replaced soon.
2. Something Is Blocking The Projector’s Light Path
Another possibility is that something is blocking the light path from the projector to the screen. It could be dust on the lens or dirt build-up in the filters. Or it could also be any material placed in front of the projector. Make sure to clear the light path by cleaning dust and removing objects near the projector.
3. Lighting In The Room Has Increased
Finally, it could simply be that ambient lighting in the room has increased over time. When this happens, it gets difficult for the projected image to stand out. So, make sure to draw in those curtains and turn off the extra lights.
Latest Posts:
Best Projectors For Sports
Best Projectors For Wedding Receptions
Best Projectors For Ceiling Mounts
Best Projectors For Projection Mapping
Best Projectors For Halloween Effects
Best Projectors For Cookie Decorating
Best Projectors For Church
Best Projectors For Camping
How To Adjust The Brightness Of Vankyo Projector?
Follow the instructions below to quickly and easily change the brightness of your projector if you’ve. Don’t worry you are not the only one! In this article, we will share with you some easy steps that you can follow to enhance projector brightness.
By following these easy steps, you will also be able to prevent upsetting circumstances like these in the future;
- You can adjust the brightness on your projector’s screen by sampling selecting the “Brightness” option from the menu.
- But before you have to open your projector’s menu.
- To do this press the ‘Menu’ button from your remote control or the projector’s panel.
- After that, choose the “Brightness” option by scrolling down the settings.
- After selecting ‘brightness’ use the up and down arrow keys on the remote or projector to select the right brightness level.
- Once you have achieved the right brightness level on the screen save the changes and exit the menu.
Watch the video attached below to know more about the procedure.
How Do I Make My Vankyo Projector Clearer?
Have you been seeing blurry text on your projector or does your projector looks pixelated? Are you looking for ways to improve your projector picture quality? Whether you are using your projector for work or play, there are a few simple steps you can take to ensure that your images are as clear as possible.
Hence in this article, we will explore a few tips on how to improve the clarity of your Vankyo projector;
1. Adjust Your Projector’s Focus
When it comes to making sure your Vankyo projector is projecting clear and blur-free images, the first thing you want to do is adjust the focus. Because chances are that your Vankyo projector focus is stuck. So, by adjusting focus, you can ensure that the pictures being shown on your screen are coming through as crisply as possible.
To do this go to your projector’s display settings and choose the option’ Focus”. From here you can adjust your screen focus accordingly. You can also use the zoom feature from the settings, in case you feel that the projector’s image is zoomed out.
2. Clean Your Projector’s Lens And Screen
We often forget to clean our projector and let the dust accumulate on it with time. Cleaning both your projector lens and screen will help to eliminate any dust or dirt that could be causing the projection to appear unclear.
To clean your projector lens and screen, simply use a microfiber cloth lightly dampened with water or alcohol. Be sure not to use too much liquid, as it can damage the lens coating.
3. Use The Correct Image Source On The Projector
Finally, make sure that you are using the correct type of image source for your Vankyo projector. If you’re not sure what type of source to use, then consult your user manual for more information.
You may also like the following articles:
Best Projector For Daytime Use
Best Long Throw Projector For Distance
Best Short Throw Projector For Golf Simulator
Best 1080p Projectors Under 500 Dollars
Best Projector Under $200
Best Projector Under $300
How Do I Adjust My Vankyo Projector Screen?
How do I adjust the projector to fit the screen? So, are you looking for an easy way to adjust your Vankyo projector screen? If so, then you have come to the right place!
Here, we will show you some easy steps that you can follow to adjust your screen. So, without further ado, let’s get started!
1. Measure The Screen’s Height And Width
Measure the height and width of your Vankyo projection screen. You’ll need these measurements to ensure that the screen is properly positioned.
2. Find The Right Spot
Find the perfect spot for positioning your projector screen. It should be close enough to an electrical outlet and level with your ceiling or surface on which you’ll be projecting images/video.
3. Set Up Your Projector In The Right Position
You’ll need to experiment with the placement of your projector to get the perfect image. But there are a few things you can keep in mind to help you out.
Take your projector’s throw ratio into account first. This is the proportion of the image’s width to the distance between the lens and the screen. You will need to move your projector farther away from the screen if it has a long throw ratio than a short throw ratio.
4. Adjust The Projection Distance
The projection distance needs to be adjusted next; you may need to use either a short-throw zoom lens or a long-throw zoom lens. Once you’ve found the right setting, it’s time to focus the image by rotating the focusing ring on the lens.
5. Play With The Keystone Correction Feature
The final step is to play with the Keystone Correction feature. This feature allows you to make fine adjustments to the image on your screen. It’s great for when you want to ensure that your images are perfectly aligned, no matter what angle they’re viewed from.
To use this feature, simply press the “Keystone” button on your remote control and use the arrow keys to make adjustments.
Check these article also for more interesting information:
Best Mini Projector For Netflix
Best Mini Projector For MacBook Air
Best Projector For Dorm Room
Best Cheap Projector For PowerPoint Presentations
Best Projector For a Bright Room
Best Projectors Under $50
How Do I Make My Vankyo Projector Less Blurry?
Why is my projector blurry at the bottom? How do I make my Vankyo projector less blurry? are these questions bothering you? And are you looking for tips to get crisp, clear images from your Vankyo projector? If so, you’ve come to the right place!
In this article, we’ll share four tips that will help you produce high-quality images with your Vankyo projector;
1. Adjust Your Projector’s Settings
The first thing to check is the focus. If your projector’s focus is not correct, the picture will be blurry.
Your projector also comes with a zoom feature. You can also use this to get a clear image. With most projectors, there will be a keystone correction feature that allows you to adjust the image vertically or horizontally.
By playing around with this setting until the image is level, you should be able to reduce any blurring. Additionally, many projectors also allow you to focus the lens manually.
2. Re-Position The Screen
You can also try moving the projector closer or further from the screen to see if that helps. The ideal distance from the projector to the screen is 12 feet, so keep that in mind when making adjustments.
3. Adjust The Light Inside The Room
Make sure that there are no too-bright light sources in or around the room. This includes lamps, windows, and even sunlight coming in through a window. If there’s any light source that could be causing a glare on the screen, it could make the image appear blurry.
4. Clean And Calibrate Your Projector
Make sure to give your projector a good clean. Because sometimes dust parts can mess up the image quality. To get the best brightness and contrast settings for the projector you can also calibrate it.
To calibrate a projector, go to the advanced settings from the projector’s menu. Find the calibrate option and adjust the bar to choose the right contrast.
Wrapping It Up
Making the correct brightness choices can improve your experience, whether you’re watching a movie or giving a presentation. Because your viewing experience might greatly alter whether your projector screen is of high quality and has the appropriate brightness settings.
What if, however, you are unable to change the brightness of your projector? Therefore learning how to adjust the brightness on a Vankyo projector becomes equally important as learning how to tie your shoelaces!
In this article, we have shared some essay steps and ways for you. We hope you found them useful. Thank you for your time. See you again soon!
