Who wants to view a slanted screen? I mean it’s quite irritating and can become a problematic situation for both the viewers and the presenter. Your audience won’t be able to grasp the information shared on the projector screen because of the slanted screen. And you will be distracted throughout the presentation with the stressful thought that why is my mini projector screen slanted?
Thus, a slanted screen can become a continuous distraction for you during that professional presentation. Now imagine what kind of havoc the same slanted screen can cause you during your movie night. You and your friends are all excited about it. You guys have brought all of your favorite snacks to watch that trending movie from the comfort and coziness of your home.
And that slanted screen spills water on all your expectations and excitement. What a major turn-off! But do not worry you do not have to get upset or spend your whole night figuring out how to figuring how to adjust the projector screen angle because we have got you.
In this article, we will answer the question of why a mini projector has a slanted screen on it along with explaining all the possible solutions that might help you to resolve the issue of a slanted screen on your mini projector.
Why Is My Mini Projector Screen Slanted?
We all are familiar with the feeling of viewing a skewed image on a mini projector screen when presenting since we all have experienced it happening with our mini projector screen or somebody else’s projector screen. Whether you are projecting in an auditorium, in an outdoor setting, or in your living room, having a slanted mini projector screen is a common issue.
In this portion of the article, we’ll be outlining some of the reasons why your mini projector screen is slanted along with proposing the relevant solutions. So, let us begin.
1. The Throw Distance Of Your Mini Projector Is Not Properly Adjusted
Apart from other features one of the features that your mini projector might have is the throw distance. A throw distance is a term used to measure or see how far the screen is from the lens of your mini projector. The maximum this distance is the bigger the image will appear on your mini projector’s screen.
Now the question is how do you measure this throw distance to adjust the slanted image or how to increase screen size in the projector? Well, you can use the throw ratio formula or just keep in mind that the throw distance should be double the width of the image. Now if the image that you are projecting has a width of 5 feet then the throw distance should be approximately 10 feet.
You can measure the image width to adjust the throw distance accordingly. Now if the screen is slanted there is a possibility that the throw distance is not properly adjusted or has been disturbed. Adjusting the throw distance will automatically resolve the issue of a slanted image on your mini projector.
2. Your Mini Projector Is Placed At The Wrong Angle Towards The Screen
For your mini projector to make a perfectly square image on its screen the projector must be placed at a proper angle toward the projecting screen. Ideally, the mini projector has to be placed in such a way that its lens is directed exactly at the mid or center of the screen.
You can adjust the angle between the screen and the mini projector either manually or through keystone correction.
3. Adjusting The Angle Manually
For manually adjusting the angle you can move the mini projector in such a way that its lens is directed towards the center.
- If the projector is placed at the wrong angle choose the right position and replace it.
- It is always better to mount the mini projector rather than place it on an object.
4. Using the Keystone Correction Method
- To fix the trapezoidal angle you will first need to locate the keystone correction buttons on your mini projector.
- Once you have found them you can either use the horizontal or the vertical keystone button to adjust the screen.
5. It’s Time To Roll Your Mini Projector’s Screen
Rolling your mini projector screen is the same and simple as you rolling that blind on your office windows. One of the reasons why your mini projector screen is showing a slanted image is that the screen is not leveled properly.
Therefore, you should try rolling your screen upwards or downwards to level it.
- Manually hold the screen from the stand and pull it down.
- Keep gripping and pulling it down until the screen is straightened up.
- Now stop pulling it.
- The screen will automatically become leveled.
- Note that you can both pull it upwards or downwards depending upon the location of the screen’s stand.
6. Or The Image Needs Correction
If you have tried everything to fix the slanted image but all is in vain. And you can’t understand what is the problem. Then it is quite possible that the image on the screen is not leveled from the sides this issue is called or titled the yaw of the image.
To fix it try out the following steps;
- First, you will need to turn on your projector.
- Next, manually move the lens or use the lens shift option to focus the image at the center of the screen.
- Or you can also manually move the projector either towards the right or left of the screen in such a way that the image is leveled on the screen.
- If the mini projector is mounted on the ceiling then from the mount use the Yaw adjustment technique i.e., slowly move the mount of the mini projector either toward the left or right.
- The image will become perfectly squared on the screen as it no longer will be slanted after yaw adjustment.
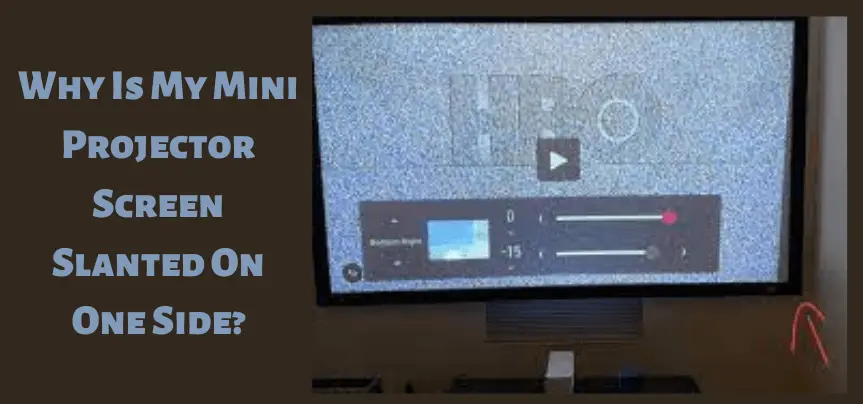
Why Is My Mini Projector Screen Slanted On One Side?
The issue of the projector on one side slanted can have several possible reasons. For instance, your mini projector might be placed at the wrong angle or it might be tilted too much either on the right or the left side. Or the keystone correction has been disturbed.
But whatever might be the reason this issue is not something you should stress over a lot. Because with minor adjustments you will be able to fix it on your own without the need of some professional or a technician.
1. Fixing The Slanted Screen With The Help Of Lens Shift
This option is available in most of the modern mini-projectors that are available in the market. You won’t find it in those cheap ones. But do look at your mini projector’s manual to understand how you can use this feature.
Now the question is, how to straighten the projector image using the lens shift option.
- You will first need to locate the lens shift buttons on your mini projector.
- Once you’ve located the buttons you can move the lens with the help of them without actually moving the whole mini projector manually.
- Keep shifting the lens until the image is properly aligned on the screen.
2. Using The Projector’s Feet To Fix The Slanted Mini Projector Screen
Now, this method is used for the mini projectors that you have not mounted to the ceiling. With the help of a mini projector’s feet, you can adjust the projector’s angle to align it with the screen.
- Start with turning on your mini projector.
- Position it towards the feet and start adjusting it by moving the projector’s feet.
- Stop moving the feet until the image is aligned on the screen from all corners.
3. Manually Adjust The Angle Of Your Mini Projector
This is the simplest technique out there to fix a slanted screen but again this can’t be used if your mini projector is mounted with the ceiling. All you have to do is move your projector either towards the right or left side of the screen once you have set it up.
This will shift the angle of your mini projector’s lens and will help it focus on the screen which in turn will allow the image projecting from the mini projector to perfectly align on the mini projector’s screen.
Why Is My Mini Projector Image Not Square?
The projector image has to make a perfect square for you to enjoy the content displayed on it. But if the projector image is not squares then don’t worry just follow the steps mentioned below.
1. Change The Angle Of Your Mini Projector
If the mini projector image is not square, slightly move your mini projector and place it at an angle where its lens is parallel to the center of the screen.
2. Adjust The Projector’s Height
Your mini projector might not be leveled with the screen. To make it parallel to the screen start moving the projector’s feet to adjust the height of the mini projector to the proper level.
3. Use The Automatic Keystone Adjustment Option
Go to the menu of your mini projector and enable the keystone correction option. The keystone correction will automatically adjust your mini projector such that the image will be projected in a perfect square shape on the screen.
4. Modify The Quick Corner Settings On Your Mini Projector
From the menu of your mini projector go to the settings and choose the quick corner option to automatically zoom in or out the image. If the image is too zoomed in or zoomed out from the screen and is not square.
5. Try Out The Screen Fit Option
Like the quick corner option, you can also choose the screen fit option from the mini projector’s menu or you can find its button on the projector’s remote depending on the model of your mini projector. Now press this button to fix the image on the screen.
Also, click the below articles:
Best Projectors For Classroom
Best Lens Cleaners for Projectors
Best Projectors For Sports
Best Projectors For Wedding Receptions
Best Projectors For Ceiling Mounts
Best Projectors For Projection Mapping
Why Doesn’t My Mini Projector Fit My Screen?
The best thing about using mini projectors or projectors, in general, is that you can adjust the screen size the way you want. If you are not familiar with the adjustment feature of your mini projector and you are probably wondering how do I adjust the projector to fit the screen?
Then you are at the right place. Just follow the instructions mentioned below.
1. Change The Aspect Ratio On Your Mini Projector
You will find an aspect button on your mini projector’s remote control. Press this button to change the shape or size of the image. Resize the image as you want to fit the screen.
2. Move The Mini Projector Forward Or Backward To Fill The Screen
Manually move the mini projector backward or forward or you can also use the keystone correction option to automatically get the job done.
3. Use HDMI Cable For Connection
HDMI cable will automatically enhance the image resolution to fit the screen more than any other cable or connector. So, if you are using VGA or any other cable then you need to shift to HDMI cable.
You may also like the following articles:
Best Projectors For Halloween Effects
Best Projectors For Cookie Decorating
Best Projectors For Camping
Best Projector For Daytime Use
Best Long Throw Projector For Distance
Best Short Throw Projector For Golf Simulator
Best 1080p Projectors Under 500 Dollars
How Do You Change The Screen Size On A Mini Projector?
We have compiled a few points below that will help you change the screen size of your mini projector.
- The simplest way to change the screen size on your mini projector is to move the mini projector back or forth.
- The less the distance between your mini projector and the screen the larger the image size.
- Adjust the mini projector accordingly to get the screen size you want.
- If your mini projector has a screen fit or screen size adjustment option you can also use that to automatically increase the screen size on your mini projector.
- You can also use the zoom-in and out option from your mini projector’s remote control or control panel to increase the screen size.
How Do I Adjust My Epson Mini Projector To Fit The Screen?
How to adjust the Epson projector to fit the screen might be the question roaming in your mind right now. Well before you dig in to find the answer to this question let us tell you that adjusting Epson mini projector to fit the screen is quite easy.
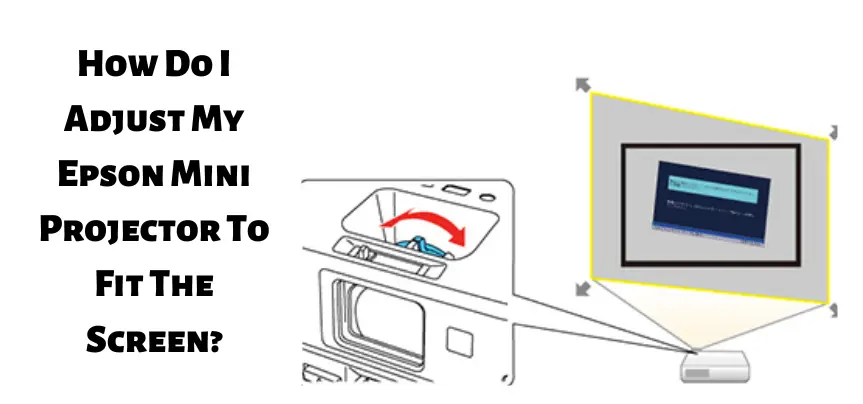
You can accomplish it within seconds by following the steps mentioned below.
- Look for the screen fit button on your mini projector.
- You will either find it on the control panel or remote control of your mini projector.
- As you are going to press this button a pop-up message will appear on the mini projector’s screen.
- Now examine by looking from a different angle at the screen to check whether this message is at the center of the screen or not.
- If it is not centrally aligned on the screen start moving the projector slowly until it is aligned towards the center of the screen.
- Now keep the mini projector at the same point or direction towards the screen display the image you want to see and check if it fits on the screen.
- Once it fits you are done with the process. Now enjoy projecting.
How Can I Enlarge My Mini Projector Screen?
Depending on the model and available features on your mini projector you can enlarge your mini projector screen with several different techniques. Starting with the simplest method which is manually moving your projector forward to enlarge the screen. You can also toggle between the zoom-in or out buttons.
Or if your mini projector has a zoom ring option use it to get the desired screen size in seconds. You can also use the wide and tail buttons. Press the tale button if you want to decrease the size of the image on your mini projector’s screen and press the wide button to increase or enlarge the screen size.
Check these article also for more interesting information:
Best Mini Projector For Netflix
Best Mini Projector For MacBook Air
Best Projector For Dorm Room
Best Cheap Projector For PowerPoint Presentations
Best Projector For a Bright Room
Best Projector Under $200
Best Projector Under $300
Best Projectors Under $50
In A Nutshell
If you are someone who regularly uses a mini projector the issue of a slanted screen is what you are going to face every then and now. But as frequently you will or are facing these issues you can solve them even more quickly. In seconds we bet.
In this article, we have compiled all the screen-related issues that you might be experiencing. We hope that you have found the content and information shared in this article useful. We appreciate your time.
For more such informative blogs regarding projectors please visit us more often. Wish you a happy day!

Heya! I just wanted to ask if you ever have any issues with hackers?
My last blog (wordpress) was hacked and I ended up losing many months
of hard work due to no back up. Do you have any solutions to prevent hackers?
Thanks a lot for providing individuals with a very brilliant chance to read in detail from this blog. It is often very brilliant plus stuffed with amusement for me and my office co-workers to visit your web site no less than thrice in 7 days to see the newest guidance you have got. And definitely, we’re at all times fulfilled concerning the wonderful tricks you give. Selected 3 ideas on this page are clearly the finest we’ve ever had.
I precisely wanted to thank you very much all over again. I am not sure the things that I would have taken care of without the actual opinions revealed by you relating to such a field. It had been a very frustrating dilemma in my opinion, but encountering your specialised avenue you handled it took me to weep over happiness. Now i’m thankful for the help and as well , wish you are aware of a great job you are accomplishing training many others all through your web page. I know that you’ve never encountered any of us.
The subsequent time I read a blog, I hope that it doesnt disappoint me as a lot as this one. I imply, I do know it was my option to learn, however I truly thought youd have one thing attention-grabbing to say. All I hear is a bunch of whining about something that you would fix when you werent too busy on the lookout for attention.
Id need to test with you here. Which is not one thing I normally do! I take pleasure in studying a put up that may make folks think. Also, thanks for permitting me to remark!
I have to show my thanks to you just for bailing me out of this particular challenge. After surfing around through the internet and getting suggestions that were not helpful, I was thinking my entire life was over. Living minus the answers to the problems you have fixed all through the guideline is a critical case, and those which might have adversely damaged my career if I hadn’t come across the website. That understanding and kindness in dealing with every aspect was valuable. I am not sure what I would have done if I hadn’t encountered such a point like this. I am able to at this moment look forward to my future. Thanks so much for your expert and effective guide. I will not be reluctant to refer your web blog to any individual who will need care about this problem.
I wanted to compose you a little bit of note to thank you very much as before for your personal marvelous tricks you have discussed on this page. This is simply remarkably open-handed with you to provide extensively all many individuals could possibly have offered as an e-book in making some money on their own, specifically now that you might have tried it in the event you wanted. These tactics in addition worked to become a easy way to be sure that most people have similar dream like mine to grasp significantly more pertaining to this matter. I know there are millions of more enjoyable situations in the future for people who discover your site.